1Is this my Problem?
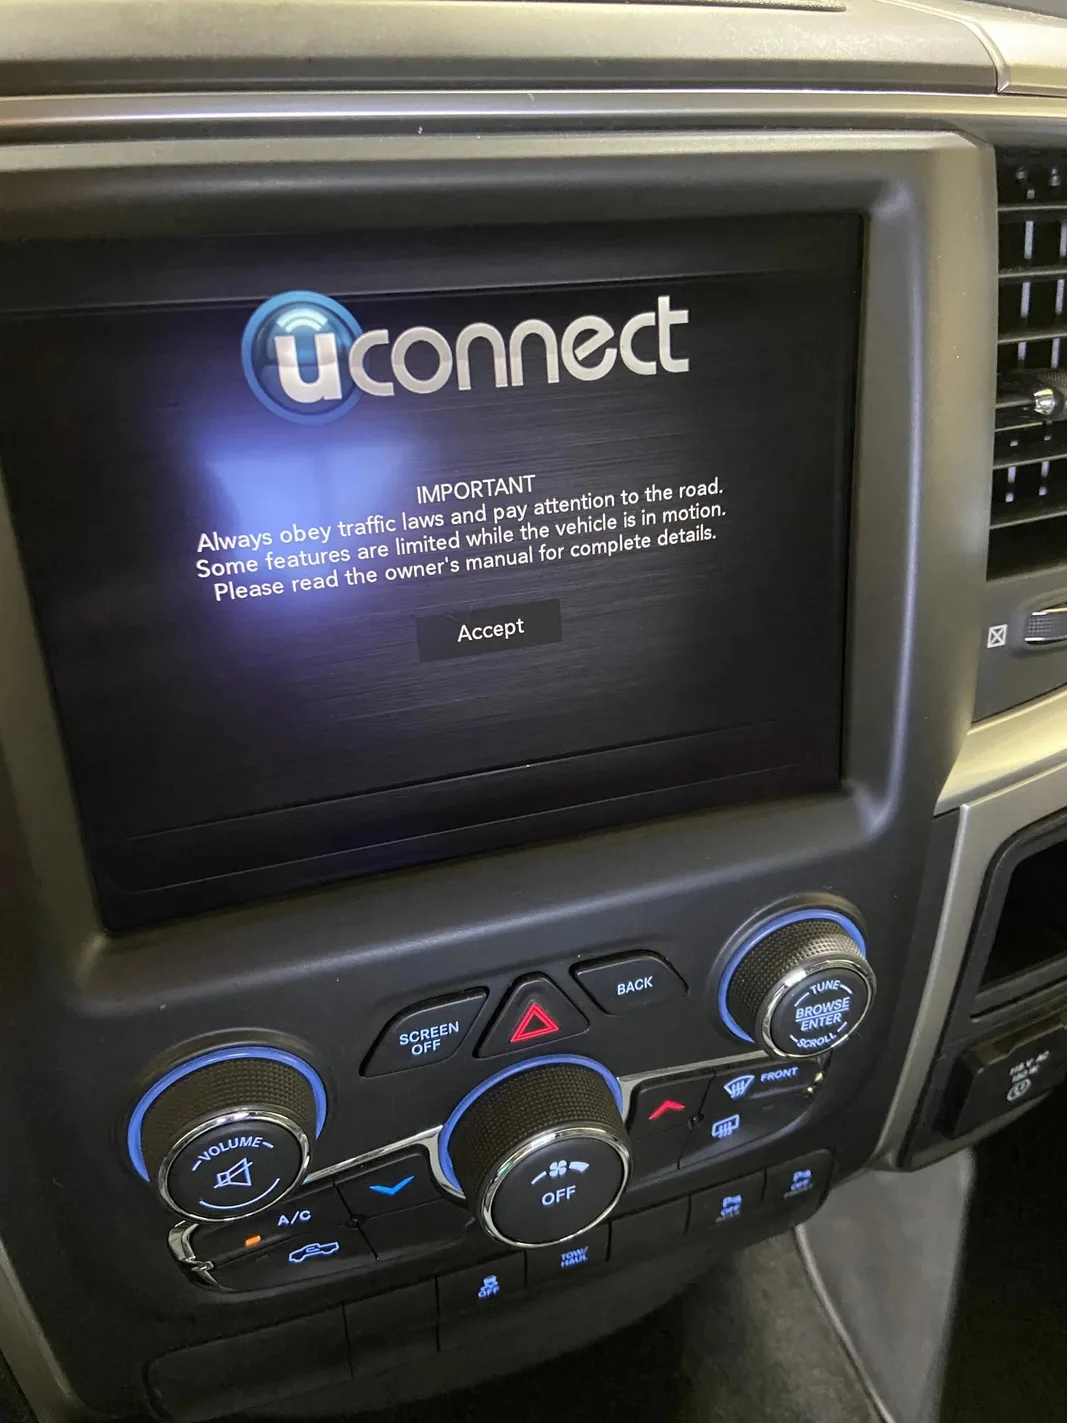
Here are the most common scenarios we hear from our customers experiencing the Uconnect & Subaru Screen Delamination / Ghost Touch failure and what you will notice.
Observable Symptoms:
- Radio pressing buttons, changing stations, or dialing contacts on its own (ghost touch)
- Uconnect 8.4 (UAQ/UAS) screen bubbling, peeling, or milky along the upper edge
- Harman Kardon Gen 3.1 screen bubbling or delaminating under the glass
- Sticky adhesive residue leaking out of the bottom bezel
- Dead zones or unresponsive touch across the 8.4-inch or 8-inch display
A framework for being sure
- Inspect the top edges and corners of the radio display for a wavy line, trapped air bubbles, or a peeling appearance under the glass.
- Turn the ignition on and watch the infotainment screen. If the radio is pressing buttons by itself, changing stations, or dialing phone numbers without being touched, the digitizer bonding gel has failed.
- Wipe the glass dry and retest. Moisture or a screen protector can mimic dead zones; if ghost inputs continue on a clean dry screen, the digitizer is bad.
Now you know for sure you have this problem.
2Solutions
Mail-In Repair
24hr Turnaround
$245
Pull the module out yourself and let the professionals repair it.
Text to StartPopular
Full Service
Same-Day
$299
Relax, our local trusted technicians will get you back on the road today.
Dispatch3Pull the Part
Tools you may need:
- Plastic Trim Pry Tools
- 7mm Socket (Jeep/Ram/Dodge/Chrysler)
- 10mm Socket
- Phillips Screwdriver (Subaru)
Parts you may need:
- None required for removal
- Disconnect the negative battery terminal with a 10mm wrench and wait three minutes before working around the radio.
- Pry off the center dashboard trim bezel surrounding the radio and climate controls using plastic pry tools. Work from the bottom edge up so the clips release without cracking the bezel.
- Remove the four 7mm mounting screws on Stellantis Uconnect units, or the four 10mm bolts and Phillips screws on Subaru Harman units, that secure the head unit to the dash.
- Slide the infotainment assembly forward, support its weight, and release the locking tabs on every rear wiring harness and Fakra antenna connector before fully extracting the radio.
4Fix It
Tools you may need:
- T8 Torx Bit Driver
- T10 Torx Bit Driver
- Precision Phillips Screwdriver
- Plastic Razor Blades & Spudger
- 99% Isopropyl Alcohol & Microfiber Cloths
Parts you may need:
- Upgraded Gel-Free Touch Screen Digitizer (Uconnect 8.4 UAQ/UAS or Subaru Harman)
- Unscrew the outer metal chassis brackets with T8/T10 Torx bits and gently release the zero-insertion-force (ZIF) locks holding the display ribbon cables to the main board.
- Separate the front metal frame and slice through the degraded factory Liquid Optically Clear Adhesive (LOCA) to lift the delaminated digitizer glass off the LCD.
- Scrape all sticky leaking gel residue from the raw LCD panel with plastic razor blades, then polish the surface completely clean with 99% isopropyl alcohol and a lint-free cloth.
- Mount the upgraded gel-free digitizer onto the LCD assembly, seat the ZIF ribbon cables until the locks click, and reassemble the radio housing.
- Reconnect every harness in the dash, restore battery power, and confirm the uconnect/Starlink boot screen has no milky border and that touch responds across the full glass with no ghost inputs.
Skip the headache. We'll fix it today.
Choose your city below to book our mobile technician directly to your driveway.
Nationwide Mail-In Repair
Not in Missouri or Colorado? Remove the module and mail it to us. 24-hour turnaround with a lifetime warranty.
Text to Start Mail-In